
It is not fully lined so it is lightweight. French seams make it super sturdy, it will even hold 2 gallons of milk! I added a small piece of elastic at the bottom so it can be easily rolled up and tucked away.

Skill Level: Intermediate
Materials:
1/2 yard of outer fabric
1/4 yard of lining fabric
6 inches of elastic (optional)
sewing machine
serger (optional)
pattern
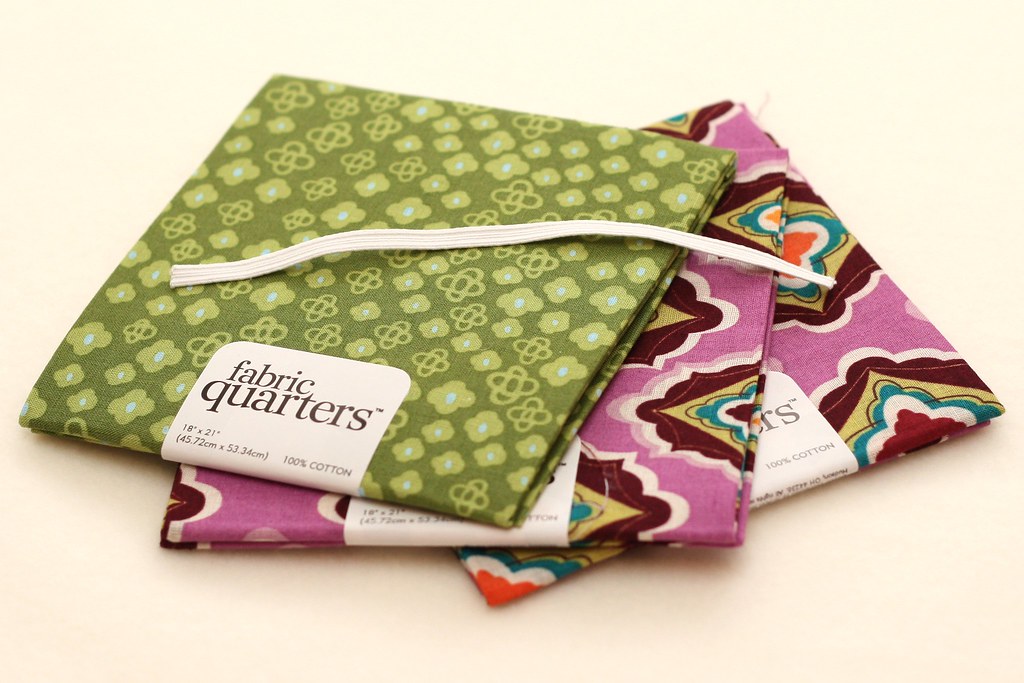
Fold both fabrics and lay pattern pieces on them. Pin down and cut.

See those two small lines on the bottom of the pattern, copy those onto your fabric, you only need them on one side.

Finish the bottom edge of the lining with a zig zag, a hem or a serger.


Lay one lining piece on top of one bag piece with the right sides together. Pin along the curved parts and sew with 1/4" seam allowance. **DO NOT sew along the straight part at the top or on the sides, just along the curved parts on both sides of the handle.** Repeat this with the other 2 pieces

Cut little slits in the seam allowance along the curves, be careful not to snip your stitches.

Turn one side of the bag right side out and iron the seams. Place it on top of the other side with the lining side up on both.

Feed the top of the right side out one into the top of the inside out one. Line up the top of the handles and pin in place. Sew across the top of both handles, I like to go back and forth a few times so it is pretty strong.

Now flip the other side right side out, your bags should be attached! Top stitch across the top of the handles, around the big circle in the middle and the curves on the outsides.


Line up the sides of your bag, you want the wrong sides together because you are going to make french seams. Pin the sides and sew them together with a 1/4" seam allowance. Do not sew the cut outs in the corners yet!

Find those marks you made on the bottom. Fold your elastic in half and sew it down between the lines. Trim the loose ends close to the seam

Trim your seam allowance on the bottom and sides to about 1/8". Be careful not to cut off the elastic you just sewed on!

Flip your bag inside out and iron it

Sew along the sides again with 1/4" seam allowance. When you finish, your raw edges should be encased in the seam.

Almost done! Now we will finish the corners... Flip the bag right side out again. Pinch at tho top corner of the corner cut out on both sides and pull the sides apart. It should go straight across now.

Line up you side seams and pin in place. Sew across the corner and trim your seam allowance to 1/8".
Flip your bag inside out, iron the corner seam and then sew over it with 1/4" seam allowance.

Flip your bag right side out and you are done!

To roll up your bag: lay it flat, tuck the sides in and pull the bottom out, fold it in half and then in half again, start rolling from the handles, stretch the elastic around the rolled bag to keep it in place.


No comments:
Post a Comment